FILMING & TRAVEL POWER / MY GEAR
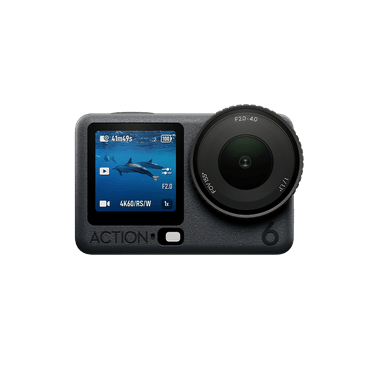
DJI Osmo Action 6 for skiing
The action camera in my ski-filming kit: set the framing before you drop in.
Watch what I actually filmed with it
My Action 6 footage includes Tortin–Chassoure in the Four Valleys, a Stormrider 95 ski film and runs from my Zermatt challenge. I labelled these films as shot on the DJI Action 6 in the original posts, so these are examples from my own camera rather than manufacturer demonstration clips.
In the Tortin–Chassoure post I called it one of my favourite runs and said that the camera does not do the steepness justice. That is worth remembering when you watch any ski-camera footage: a clear, steady view of a slope is not the same thing as feeling its pitch when you stand at the top.
The two films below show the camera doing the job I want it for: bringing you along on a run and letting me talk about the skiing and the skis. They are ski films, not controlled comparisons of every camera setting.
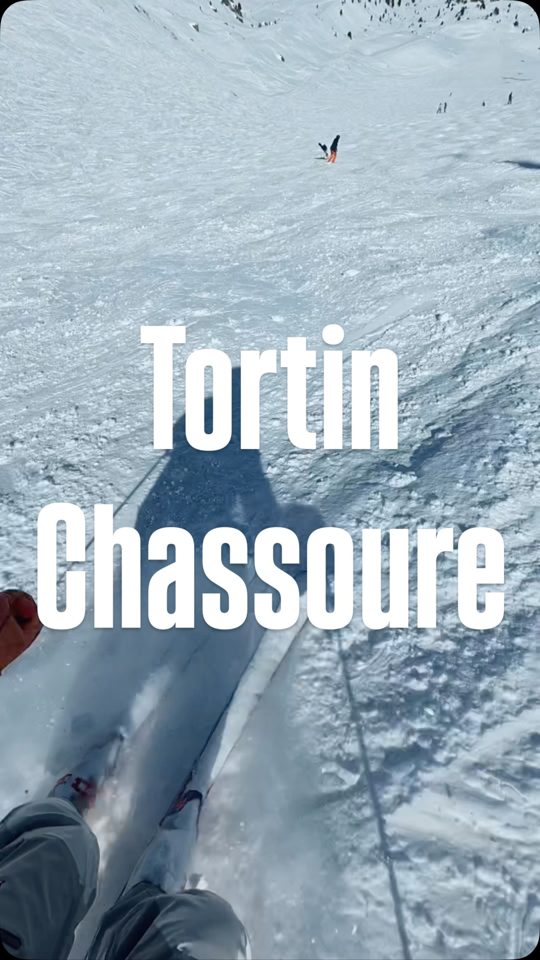 ▶ Watch: Ski Tortin–Chassoure with me ↗
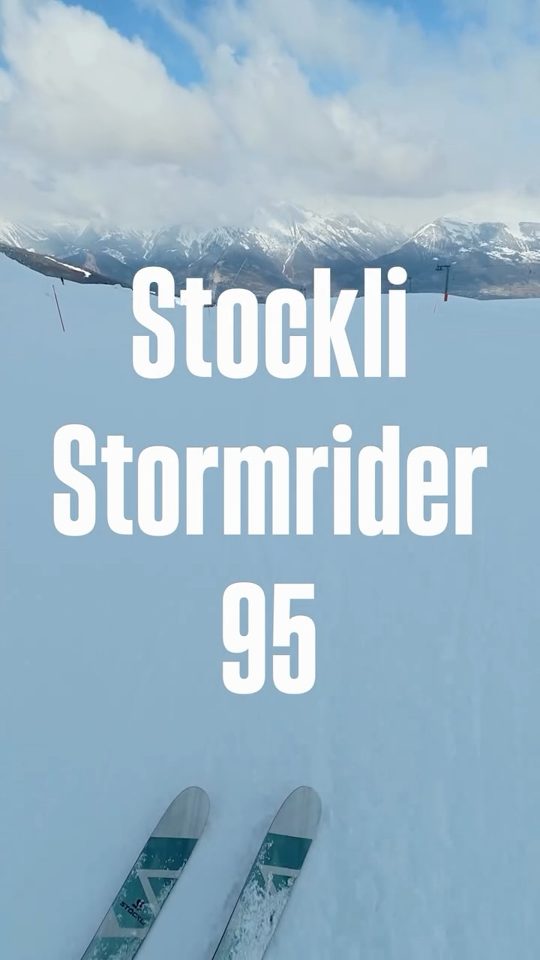 ▶ Watch: My Stormrider 95 ski film ↗
What I’d use it for
When the point of the clip is to see what the skiing actually feels like, I want a camera I can mount and leave alone. An action camera is the sensible starting point for that: a run filmed from one direction with a clear view ahead. Before you ski away, shoot a few seconds and check that the skis, horizon and slope are where you want them.
How I’d run it on snow
Mount it where it will not interfere with your kit or your movement. Sort out recording and start it while standing still. Check the lens after snow has hit it, and keep a spare battery somewhere warmer than an outside pocket. I would rather have a handful of properly framed runs than come home with an entire day pointed at the wrong bit of the hill.
Action or 360?
Choose the Action when you know what you want to see and would rather keep the edit straightforward. Choose the 360 when you want to decide where to look after the run. For either approach, record a test clip with the gear and mount you will actually use.
The features that matter for framing
DJI lists a square 1/1.1-inch sensor and variable f/2.0–f/4.0 aperture for the Action 6. The practical question for ski films is how much freedom the recording mode leaves you when you choose the final frame. If the same run needs to work in a landscape film and a vertical social post, decide that before pressing record. A tight crop that looks good in one orientation can cut the skis or the mountain out in the other.
I would test the intended mode and make both exports before committing a whole day to it. Stabilisation can also change the usable view, so a still photograph of the mounted camera is not enough to judge the framing.
Sound, storage and the end of the day
The Action 6 specification includes 50GB of built-in storage and OsmoAudio microphone connectivity. Built-in space is useful, but I would still check available recording time and the microphone connection before leaving. Take a clip with someone speaking and listen back: a level meter moving does not tell you whether it is picking up wind or the voice you want.
At the end of the day, copy and check the files before clearing space. Open a few clips from different points in the day, especially the one you most wanted. My aim would be a small collection of usable runs and clear conversations, with enough context to tell the story of the trip.